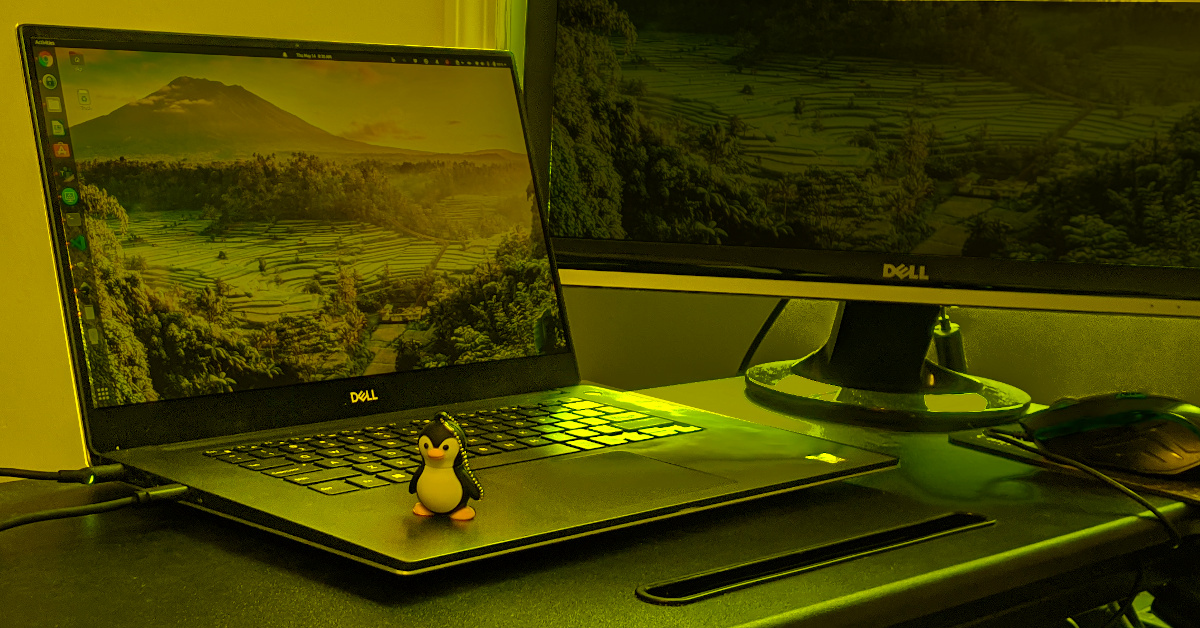
My last laptop was probably the shortest that I’ve ever had a laptop! But, it was time to upgrade. Really, the kids needed something more reliable on which to do their school work. I’m passing the old laptop down to them to hopefully reduce their frustration and get something better for myself.
I selected the XPS 7590. It has 32G of RAM, which will be nice with running virtual machines. It has a USB C port, which I missed on my last laptop. It also allows charging, which is a new concept for me. I learned though that it is a slow charge and depending on what I am doing might not be enough to even power the laptop without using the battery some. It also has an Nvidia graphics card, which will let me play around with some 3D things.
Every new laptop needs a nut name (the first started with the pet name peanut). I named this one hazelnut because of this little tid bit I found on a fact page: “Ancient Greeks believed hazelnuts could treat coughing and baldness.” That seemed fitting for all the stuff going on in the world today!
BIOS Settings
I tinkered with a few of the BIOS settings, but the only one that I ended up needing to set was the SATA Operation. It’s under System Configuration > SATA Operation. I set the value to AHCI. Apparently, Ubuntu can’t see the partition unless it is set like that.

Initially, I thought I might need to tinker with the settings more because I couldn’t get Clonezilla to boot. It turns out that it was related to the image that I downloaded. Ubuntu had no trouble booting off of the USB drive.
Backing up the Drive
Just in case, I wanted an image of the machine as it came from Dell. That way if I ever need to go back, I could.
I attempted to use the Disks program to make an image of the machine. The only issue is that it required a drive bigger than the 1TB drive that came with the new laptop.

Instead I used this command:
sudo dd bs=1M if=/dev/nvme0n1 | gzip -c | dd of=/media/ubuntu/Seagate\ Backup\ Plus\ Drive/newLaptop/DellXPSDrive.img.gzSo, to restore it, I should be able to run this command (I haven’t tested this):
dd if=/media/ubuntu/Seagate\ Backup\ Plus\ Drive/newLaptop/DellXPSDrive.img.gz | gunzip -c | sudo dd bs=1M of=/dev/nvme0n1Installing, I chose this:
I also used Clonezilla to back it up because I wasn’t that confident that I did it right. I’ll have to try to restore it into a virtual machine to test it out.
sudo apt install clonezilla
sudo clonezilla
Installing
You can probably see plenty of screenshots for installing Ubuntu. I pretty much accepted the defaults and didn’t want to paste all of the screenshots here.
The only thing different was the way that I setup the drive. I picked advanced features so that I could encrypt the drive. I would love to try the ZFS, but it doesn’t have the encryption option.

First Installs
Chrome has been my favorite and comfort zone. Since, I do my documenting in Chrome, I decided to install it first. I downloaded from Google’s website, and then installed it with this command:
sudo apt install ~/Downloads/google-chrome-stable_current_and64.debNext, I installed KeePass so that I would have access to all my passwords. I copied the Insync directory, which I use to synchronise the key store. I’ll get it syncing later. Then, I installed the program with:
sudo apt install keepass2Just so I could get working quickly, I installed VMWare View / VMWare Horizon. I downloaded the client from their website. I installed it with these commands (made it executable, installed python, and ran the “bundle”):
cd ~/Downloads/
sudo chmod +x VMware-Horizon-Client-4.10.0-11053294.x64.bundle
sudo apt install python
sudo ./VMware-Horizon-Client-4.10.0-11053294.x64.bundle
(During the install, I answered all the questions as yes.)
Finally, I installed Microsoft Teams. Now, that they have a Linux version, I’ll just install the official client. I downloaded it from their website. I installed it with:
sudo apt install ~/Downloads/teams_1.3.00.5153_amd64.debHardware
First up is the graphics card. It uses the Nouveau driver by default:

I switched it over to the official Nvidia driver. I didn’t have to install any repositories or anything. I just did it from the “Additional Drivers” application.

I was concerned about the Wifi initially based on some of the reviews that I had read. I had no issues though. I just ignored it in the “Additional Drivers”.
The only thing that I have noticed so far that doesn’t work is the finger print scanner. That’s not that big of a deal, and I wonder if it is both a driver issue and a software issue.
I did have a little fight with the Display Link drivers. That’s really more of an accessory issue rather than a laptop issue. I thought that I needed the drivers for the Dock that I bought with the laptop. It turns out that I didn’t. That story will have to come in a later post.
Displays
The high resolution screen (3840×2160) is really nice, but I didn’t take into account that it makes things hard to see sometimes. Ubuntu has a setting to scale it up by 200%, but it still leaves some things really small. For example, the 0ad game is hard to read any of the text. The Gimp icons are really small.
One challenge I have had is that my monitor doesn’t support 3840×2160. To have two different displays with different resolutions is a bit of a challenge. I really need the laptop display to scale at 200% and the external display to be 100%. I found the only way to do that was to check the “Fractional Scaling” option at the bottom.

Battery
On my last laptop, I had just started playing with the battery tools to try to get more battery time. It seemed to make a big difference, so I thought I’d start out installing it here. I thought about trying laptop-mode-tools, but I found an article with a machine similar to mine.
I installed both tlp and powertop with:
sudo apt-get install tlp powertopI started tlp and checked the status:
$ sudo tlp start
TLP started in battery mode (auto).
$ sudo tlp-stat -s
--- TLP 1.3.1 --------------------------------------------

+++ System Info
System         = Dell Inc.  XPS 15 7590
BIOS           = 1.6.0
Release        = Ubuntu 20.04 LTS
Kernel         = 5.4.0-29-generic #33-Ubuntu SMP Wed Apr 29 14:32:27 UTC 2020 x86_64
/proc/cmdline  = BOOT_IMAGE=/vmlinuz-5.4.0-29-generic root=/dev/mapper/vgubuntu-root ro quiet splash vt.handoff=7
Init system    = systemd v245 (245.4-4ubuntu3)
Boot mode      = UEFI

+++ TLP Status
State          = enabled
RDW state      = enabled
Last run       = 11:02:21 PM,     11 sec(s) ago
Mode           = battery
Power source   = battery
When I turned off the Nvidia card, I was getting some really good battery times. I have yet to actually time it, but it’s over 2 hours, which was the best my other laptop would ever do. Here’s the command I used to turned of Nvidia:
sudo prime-select intelResources
- My Journey Installing Ubuntu 18.04 on the Dell XPS 15 7590 (2019)
- ServerFault: dd on entire disk, but do not want empty portion
- D3100 Docking station for Ubuntu 14.10 (XPS13 2015)
- DisplayLink Forum: Support Ubuntu 20.04 LTS (Focal Fossa)
- Post Installation Guide
- Reddit: tlp vs laptop mode tools
- AskUbuntu: Ubuntu 18.04 battery life