Here’s another step in my “perfect” Garuda Linux installation. Just installing the OS is one thing, but I have to get all my programs installed and the settings the way I like them.
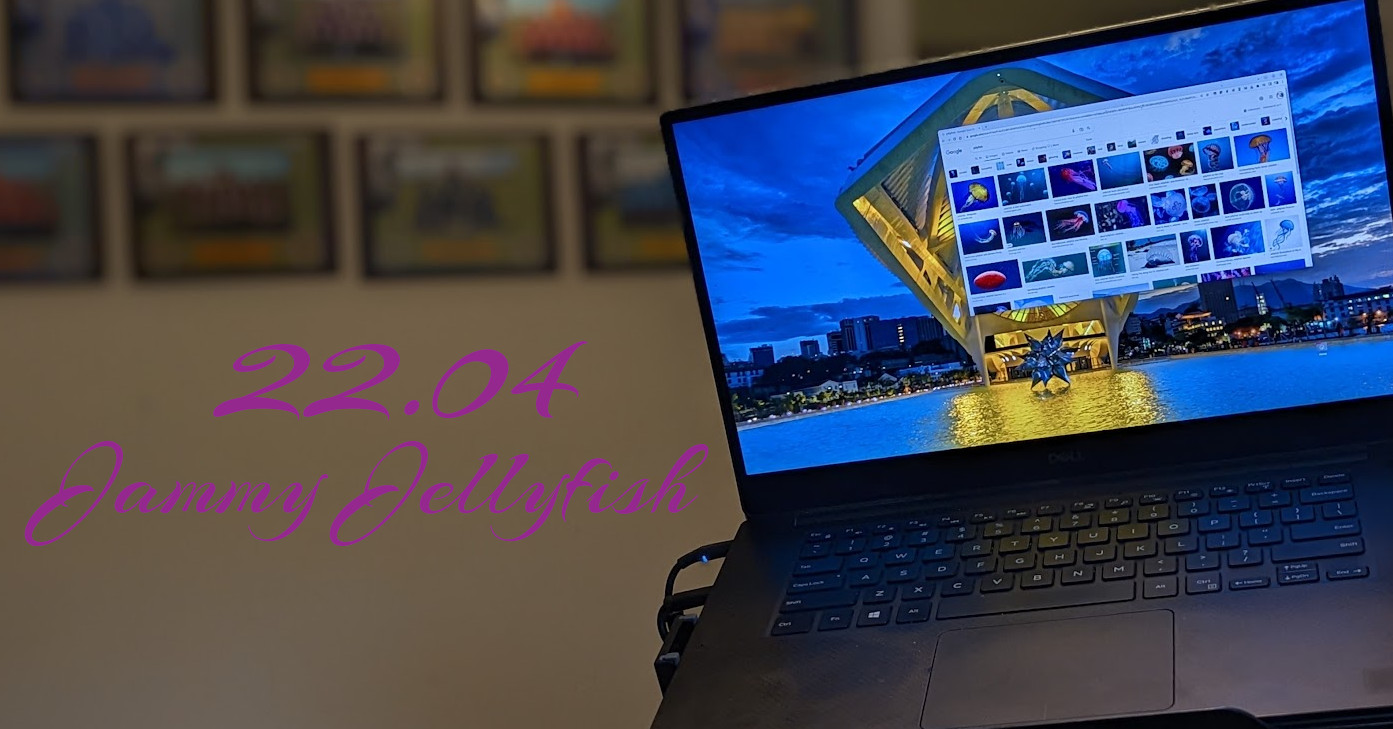
As the year was turning, I finally quit procrastinating and updated my laptop to Ubuntu 23:10. I hadn’t even finished my article about getting the laptop in the first place. Time to get on the ball! (And I procrastinated in getting it proofread and published, sorry.)
I’ve been trying to take notes as I install each version of Ubuntu. Then, when the next version comes out, it’s so much easier to do the install just following the notes from the last time! But, getting all the way to publishing has been more and more difficult.
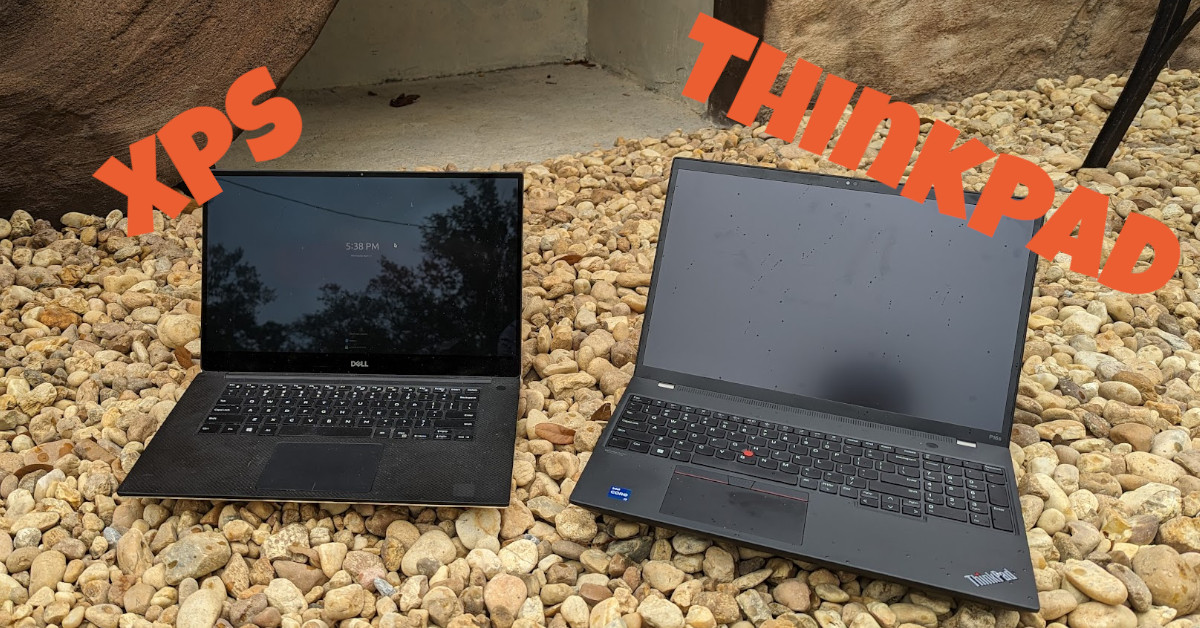
I got a new computer! I’ve finally left the Dell XPS line! This is my first time getting a laptop that already has Linux on it. And, I’m excited to have a little larger screen now. (Actually, I’m a bit slow. I’ve had it almost 7 months now, so I can comment a little better on things I like and don’t like.)
I’m a little late to the party here. I’ve been fighting with this install for 6 months! It got to the point that my laptop wouldn’t suspend and would crash when I would reboot. The next version of Ubuntu was released before I could get this proof read and published!
Restoring Files
I’ve been keeping a list of the files that I restore so I don’t forget anything. I like formatting the drive and starting from scratch, but I have to be careful what I copy back, otherwise it defeats the purpose. Maybe this list will help you think through what you need to backup and restore on your system:
~/.ssh: connection keys for SSH connections
~/app: (as in application development) this is where I keep my play space for programming projects
~/Documents: where most of my regular files, like documents, of course
~/DigitalEagleServices: work-related files
~/Insync: OneDrive files (saves times resyncing from the Internet)
~/.config/google-chrome: my Google Chrome browser profile, restores bookmarks, last used tabs, browser history, etc.
~/.remmina: the configuration for Remmina, the remote desktop software
~/.sword: the data files for the sword project, which I use with Xiphos
~/.vim: my custom configurations for the Vi editor
~/.vimrc: the actual configuration file for the Vi editor
~/.local/share/fonts: extra fonts that I have collected over the years
/etc/NetworkManager/system-connections: this saves all of my wireless connections and VPN connections (I’m not sure this worked this time)
.local/share/applications: I review this directory for shortcuts to apps that I use
~/bin: certain programs and scripts that I installed manually
~/Zotero: research data, depending on how you installed it may be in ~/snap/zotero-snap/common/Zotero
~/.config/obs-studio: my setup (scenes, etc) for OBS Studio
Permissions are important for the SSH files. Here’s how I fixed them:
The network manager connection files also have to have certain permissions. So, it is easier to restore them to my Downloads directory and then use these commands:
cd ~/Downloads/system-connections/
chmod 600 *
sudo chown root:root *
sudo cp * /etc/NetworkManager/system-connections/
sudo service NetworkManager restart
Screenshots
Flameshot is my current screenshot tool. I need it installed sooner than later to help document. First off, it’s easy to install with:
sudo apt install flameshot
To make it better, I like it mapped to the print screen button. That way I get the control of Flameshot for every screenshot. Here’s the commands I can run on the command-line to make that happen:
gsettings set org.gnome.settings-daemon.plugins.media-keys screenshot '[]'
 gsettings set org.gnome.settings-daemon.plugins.media-keys custom-keybindings "['/org/gnome/settings-daemon/plugins/media-keys/custom-keybindings/custom0/']"
 gsettings set org.gnome.settings-daemon.plugins.media-keys.custom-keybinding:/org/gnome/settings-daemon/plugins/media-keys/custom-keybindings/custom0/ name 'flameshot'
 gsettings set org.gnome.settings-daemon.plugins.media-keys.custom-keybinding:/org/gnome/settings-daemon/plugins/media-keys/custom-keybindings/custom0/ command '/usr/bin/flameshot gui'
 gsettings set org.gnome.settings-daemon.plugins.media-keys.custom-keybinding:/org/gnome/settings-daemon/plugins/media-keys/custom-keybindings/custom0/ binding 'Print'
Finally, I went to Configuration > General and checked “Launch at startup”.
Note: My old favorite was Shutter. I haven’t installed it and gone back to it yet.
Browser
My favorite browser so far has been Google Chrome. I could make arguments for other browsers, but Chrome has been my favorite for a while. I downloaded the browser package from Google’s Website and installed it by double clicking on it in the Downloads folder (opened in the Software Center).
Don’t forget, I also restored my profile in ~/.config/google-chrome to keep all of my bookmarks and such. After that, I just had to sign in to my Google account at the upper right corner of the browser because it said the sync was paused. I had to sign in to all of the websites because it lost the session, but that was no big deal. I was back in business where I left off.
I also went to System Settings > Default Applications and set the default for Web to Chrome.
Password Management
On past installations, I have used KeePass2. Since getting into Flutter, I found AuthPass, which is a KeePass implementation in Flutter. So, I’m jumping ship and going for it. Their blog post documents an Apt repo, but that didn’t work. Here’s what I tried:
E: The repository 'http://ppa.launchpad.net/codeux.design/authpass/ubuntu hirsute Release' does not have a Release file.
 N: Updating from such a repository can't be done securely, and is therefore disabled by default.
Dropbox is the easiest cloud to get working. I don’t use it as much, but it’s nice to have. I just downloaded it from the website. I installed it and the dependency with:
After installing, it popped open a prompt to start Dropbox. That places the indicator icon by the clock. It also downloaded the “proprietary” binary required to make it work. It also opened a browser window to do the log in. I had trouble making that work until I signed into the website first and then connected the desktop client.
OneDrive itself doesn’t have a sync client. So, I have been using InSync. I just downloaded that from their website. Then, I installed with:
Like Dropbox, a short while after installing, it prompts to start InSync:
It starts by asking which account type you want to sync. When I picked Microsoft OneDrive, it opened the browser to a sign in page.
After signing in, this window took me through a few steps. I accepted the defaults until I got to the folders to sync. Then, I picked my folder for KeePass and for Joplin.
Work Software
I use VMWare Horizon for connections. I downloaded it from the website and installed with these commands:
I accepted the default for all of the questions after accepting the agreements. I had no problems with the install.
Teams is another key software needed for work. It allows me to chat and screenshare with others. I downloaded the official client from the website. I downloaded the deb file for the desktop client.
I have an Nvida card, so I wanted to install the driver. Last Ubuntu version automatically installed the drvier. This time, I had to do it myself. I opened the Additional Drivers app an selected the 465 driver:
After trying the 465 and 470 drivers for a while, I found it was locking up a lot. Chrome and Teams would crash everytime I would open the laptop lid up. I guess restoring after a suspend caused memory issues. Worse, it would lock up everytime I would disconnect from my D6000 dock. So, I tried the 450 driver I had on the previous version of Ubuntu.
Battery
I haven’t done some good testing to confirm, but I think Power Top has doubled my battery life. I installed with:
Just because it’s fun to see as the years go by, here’s the stats:
--- TLP 1.3.1 --------------------------------------------
 +++ System Info
 System         = Dell Inc.  XPS 15 7590
 BIOS           = 1.10.0
 Release        = Ubuntu 21.04
 Kernel         = 5.11.0-22-generic #23-Ubuntu SMP Thu Jun 17 00:34:23 UTC 2021 x86_64
 /proc/cmdline  = BOOT_IMAGE=/vmlinuz-5.11.0-22-generic root=/dev/mapper/vgubuntu-root ro quiet splash vt.handoff=7
 Init system    = systemd v247 (247.3-3ubuntu3.1)
 Boot mode      = UEFI
 +++ TLP Status
 State          = enabled
 RDW state      = enabled
 Last run       = 11:30:47 PM,     10 sec(s) ago
 Mode           = AC
 Power source   = AC
Networking
To be prepared for any VPN requirement, I install all the VPNs:
LIbreOffice comes pre-installed. But, to keep it up to date, I added the official repository:
sudo add-apt-repository ppa:libreoffice/ppa
For Bible study software, I use Xiphos. Remember up in the backup section, I restored the .sword directory for the Bible text and commentaries.
sudo apt install xiphos
I’ve been using Zotero off and on for a while now. It’s hard to figure out the best way to install in a way that keeps it automatically updated. I finally found a place that claims to update the repository within 24 hours of updates. So, I’ll use that.
Restoring the data directory was a big challenging because I had use the snap before. I had to move the data from ~/snap/zotero-snap/common/Zotero to ~/Zotero
I’ve been using Joplin as my notes application. I installed it from the software center, but I noticed it was a snap app:
snap install joplin-desktop
After installing, I went to Tools > Options > Synchronization, and I changed the target to OneDrive. After that, I exited back out to the main app and clicked the Synchronize button. That took me through the login process.
Printing
The cups-browsed service is very annoying because it adds printers that don’t get removed. So, a laptop that travels around a bit just collects printers that never get removed.
To install my Dell E525W printer, I downloaded the driver from the Dell website. I unzipped and installed the deb package:
cd ~/Downloads/
unzip Printer_E525w_Driver_Dell_A00_Linux.zip
sudo apt install ./dell-color-mfp-e525w_1.0-28_all.deb
I have found the settings app unreliable for working with printers. So, I used the cups web interface at http://localhost:631. I added an IPP printer with the URL ipp://DELLA40A1E/ipp/ and the PPD file located at: /usr/share/cups/model/Dell/Dell_Color_MFP_E525w.ppd.gz
Application Package Systems
Ubuntu comes with the ability to use DEB packages and snap packages. I used this to add AppImages:
cd ~/Downloads/
 wget "https://github.com/AppImage/appimaged/releases/download/continuous/appimaged-x86_64.AppImage"
 chmod a+x appimaged-x86_64.AppImage
 ./appimaged-x86_64.AppImage --install
I retired these two extensions. I list them because maybe I’ll go back:
Caffeine: the tool I used to use stop the computer from going to sleep
Do Not Disturb Button: I used to use this for hiding notifications during meetings. It’s no longer maintained.
Media Apps
I’ve had issues with old versions of Gimp and collaborating with others . According to Gimp’s website, 2.10.24 is the latest version. Gimp came installed as a snap and it is actually the latest version. So, I left it alone.
sudo apt install inkscape \
         xournal
Inkscape: My go to program for drawing (vector-based drawing)
Note: If you forget that second (reconfigure) command, you’ll get errors like this every apt install:
libdvd-pkg: apt-get check failed, you may have broken packages. Aborting…
 N: Download is performed unsandboxed as root as file '/home/skp/Downloads/insync_3.4.2.40983-focal_amd64.deb' couldn't be accessed by user '_apt'. - pkgAcquire::Run (13: Permission denied)
For OBS, I repeated what I did on the last version of Ubuntu:
I found most of the plugins and such came over by restoring the config directory. One thing I did have to do was download the plugin from Dev47Apps and put it into ~/.config/obs-studio/plugins
Finally, I use Kdenlive for editing videos. I just downloaded the AppImage from their download page.
This is a continuation of my notes on installing Ubuntu 16.04. In this post, I install the programs that I use for working with different kinds of media like recording audio or creating videos.


