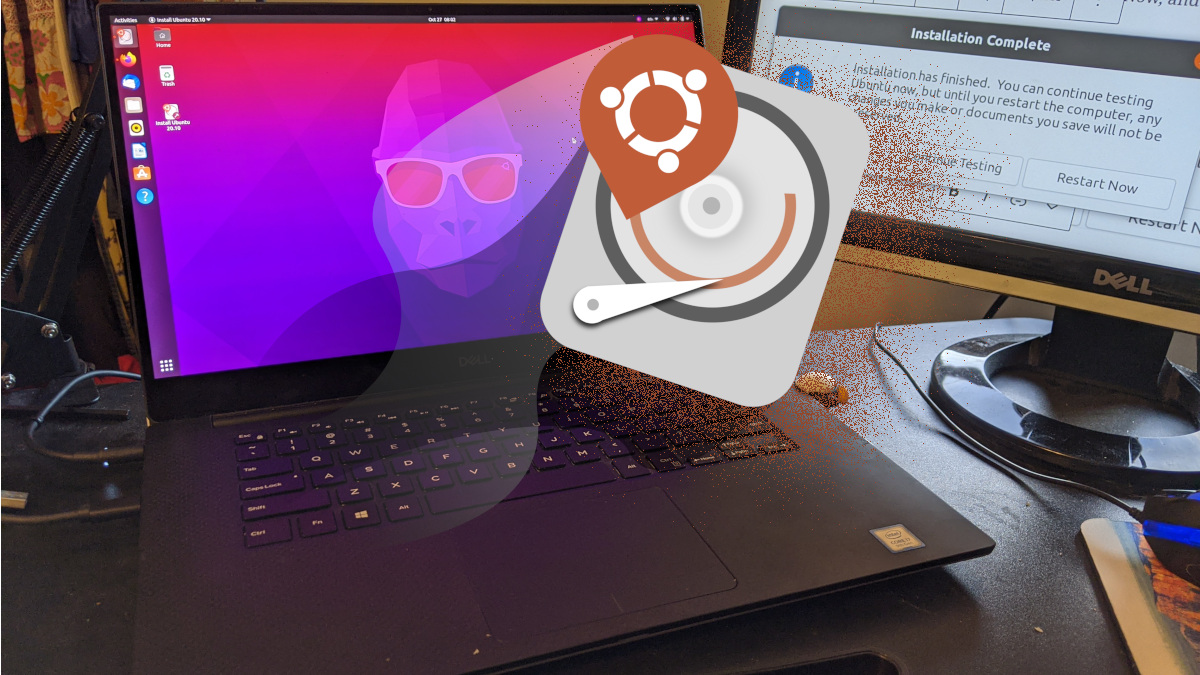
It’s been a while since I’ve included the actual install process itself in my notes. This is what works for me, and I’ll try to explain why at each step.
I try to do a fresh install on my laptop each version of Ubuntu that comes out (every 6 months). This keeps my laptop clean and keeps me on my toes with my backups. This article contains my notes for this install. The following articles will have the steps I take to get everything just right.
I used the “Try Ubuntu” at the beginning just so that I would be able to take screenshots and document as I went. To start the install, I clicked the “Install Ubuntu 20.10” icon.

I’m thankful to speak English which allows me to just take the default keyboard setting and language.

The only thing I did on this screen was check the “Install third-party software…” option. That should save me time afterward because I would just have to install them later.
I kept the “Normal Installation” option because while it might give me a few apps that I don’t use, it will save me from having to install ones that I do use. I left “Download updates” checked because that will also save me time afterward.

I chose the Erase disk option to start fresh with the new install. I do need the drive encrypted so I had to click the “Advanced” button:

One of the new features is that it supports encryption with ZFS. Ubuntu 20.04 didn’t have that feature! I’m going to try it out with this version.

After clicking, “Install Now”, it prompted me for the password on the disk. This is the encryption password that I will have to type in before the laptop will boot. Then, it gave me this confirmation.

I left the timezone at the default.

Next, it asked for my user configuration. I entered the username, password, etc. Then, it was off and installing:

I didn’t time it well, but I’d say it took no longer than 20 minutes. Then, I got the complete message. I just clicked the Restart Now, and I was done!

After the first boot, I got a wizard that walked me through a few first steps. I connected a couple of online accounts by logging into them.

Then, I chose to help Ubuntu…

Next is the location privacy.

Finally, I was at the last step of the first time wizard. I’ll install the software later.

Next, the Software Updater opened up. There’s only 1 update to install, so I just clicked install now. I’ve always been amazed that even though I click download updates as I install, it still has a bunch of updates after the first boot. This time, one isn’t too bad.

Strangely, after that install, there was one more.

Finally, that was the last one.

Update: My next step is the Essentials and Productivity software.

One thought on “Ubuntu 20.10: Groovy Gorilla Install”