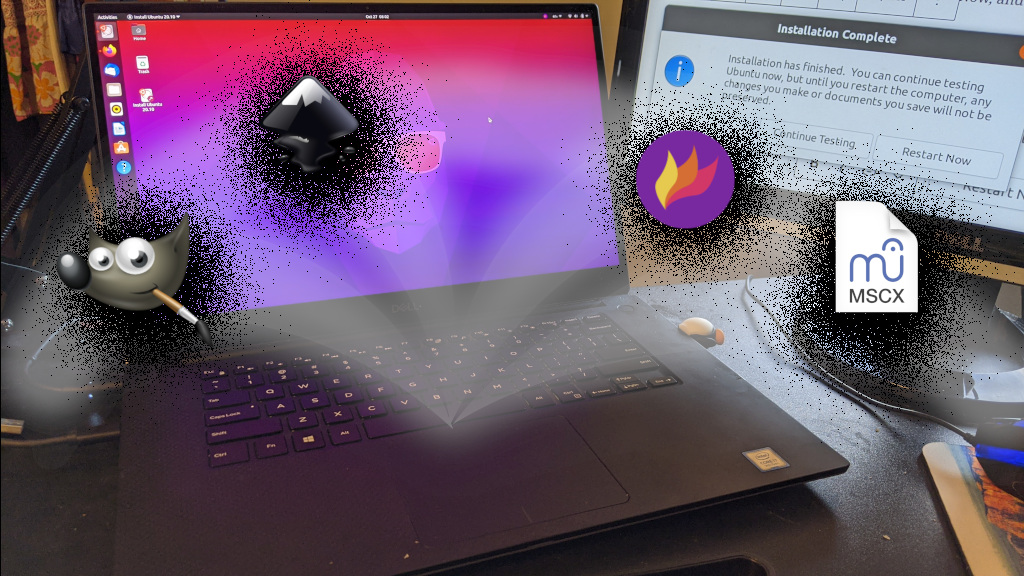
This is my next article on my Ubuntu 20.10 install. In my last article, I went through some tweaks. In this article, I have my notes for installing different media programs.
Category: Gimp
Ubuntu 20.04: Multimedia Programs
This is part three of my Ubuntu 20.04 Install Notes. In this post, I walk through various media-related programs. These are the various programs that I use to work with images, video, sound, etc.
Ubuntu 14.04: Media Programs
This is a continuation of my series on installing Ubuntu 14.04 Trusty Tahr. My previous post covered installing programming environments and applications. In this post, I’ll go through the different media programs that I installed back onto my laptop. If you would like to see the complete list of posts, check out my Ubuntu 14.04 install page.
Visual
One of the most important programs that I use now is Shutter. It allows me to easily take screenshots of what I am working and edit the screenshots. The shutter package is easily installed from the Software Center. Once installed, I tweaked a few of the settings in Edit > Preferences.
First, I changed the path for the screenshots from the Pictures folder to a new folder that I created called screenshots.

In addition, I checked the first two options on the “Behavior” tab to allow it to start when I boot up the computer.

I installed the following other programs for working with visual media:
- Gimp: for editing photos
- Inkscape: vector-based drawing
- Xournal: has features that allow marking up a PDF
Audio
Videos
These are the programs I use for playing and editing video:
- mplayer – nice general video/music player from the command line
- mplayer-gui
- gnome-mplayer
- vlc – video player
- kdenlive – video editor
- openshot – video editor
- avidemux (GTK+): Great for converting video, for example see Why Can’t the Users Just Rotate Their Screen?
- cheese – nice for testing to make sure the webcam works (already installed)
Codecs
This installed many different things for media. For example, I noticed that it installed True Type fonts. It also installs codecs for playing videos, etc.
sudo apt-get install ubuntu-restricted-extras
In addition, I installed the libdvdcss to get the restricted formats. That was simply by installing this package…
sudo apt-get install libdvdread4
Then, I ran the script…
sudo /usr/share/doc/libdvdread4/install-css.sh
Finally, I determined that I had to use the /dev/sr0 as the device for playing my DVDs. Like this:

Next Steps
If you are following along with the complete install, check out my next post about Virtualbox. Or, you can go to the list of posts in this series (Installing Ubuntu 14.04).
Resources
Ubuntu 13.10: Graphics Programs
This is another article that is part of my Ubuntu 13.10 install. I didn’t have to do anything special for these programs. I just installed them from the Software Center.
Adding Fonts
I was working on trying to throw together a fancy looking document, and I needed a calligraphy font. Fortunately, it was pretty easy to install the fonts.
Basically, I just placed the ttf file into a folder under /usr/share/fonts/truetype. To make it easier, I opened that folder up with root privileges.
sudo nautilus /usr/share/fonts/truetype
Then, I created a folder called “myfonts”. I copied the .ttf files into that new folder. These are the fonts that caught my eye for my needs:
Finally, I ran this command to refresh the font list:
sudo fc-cache -f -v
After that, I reopened Gimp, and I could see the font there available for use.
Resources
Great Links: Gimp Tutorials
While preparing a presentation, I needed some graphics. The QuickMask link was great for creating nice borders on the images. I didn’t get to using the second link, but it looked great for making the text look fancy.

